So, your plants are ready to be cut down, trimmed and left to dry, but how is one expected to know how long the buds should dry for and how long they need to be cured for. Here in this simple guide we’ll breakdown all the necessary information required so that you can get some crisp buds and the best out of your yield.

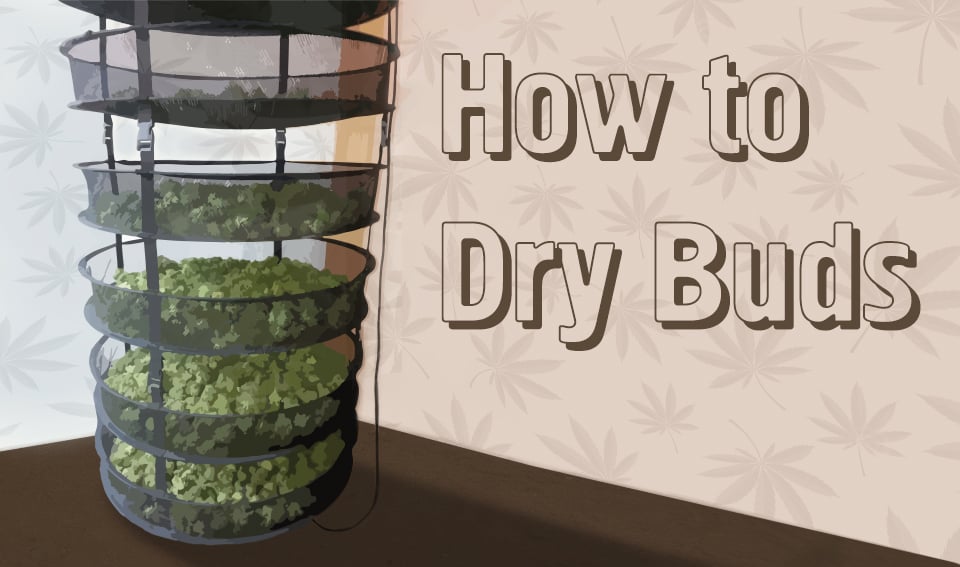
Once you’ve cut down your branches and done the necessary trimming (check out our manicuring guide here!), your buds are ready to be hung up and dried. Divide up the branches, either by breaking them or cutting off certain stalks as to leave as much space between the buds as possible, (if you cut just under the stalk and the branch separation this will create a V-shape in the branch making a great hook that you can put a piece of string around to hang it from). You’re going to want to leave your buds hanging for around 3 to 7 days, until the smaller branches/stalks start to snap rather than bend.
Critical+ 2.0, a strong, easy to grow, fast flowering strain that's got a great moisture resistance.
The more time the buds spend drying, the better. Why? Because as the plant grows, certain components go through a process called “Biosynthesis” which converts the components into new compounds. This process continues throughout the life cycle of the plant and even after the plant is cut; using up its last remainders of energy. During this period of post-cutting biosynthesis, the non-psychoactive cannabinoids are gradually transformed into THCA, then THC (the psychoactive cannabinoid, produced by the plant as a defence mechanism).
This natural process will be much more efficient when your fresh buds are left in a somewhat colder environment, with around 15°C to 17°C Celsius (60°F - 70°F) and with an optimal room humidity of around 55%. This will allow the plant to take its time in drying and degrading the remaining sugars (which helps the decomposition of chlorophyll – the component that gives the harsh taste to the buds). Just watch out to not leave them too long and over dry them (making them crisp and tasteless)
Keep your buds cold and dry and you can be sure to get the best quality out of them!

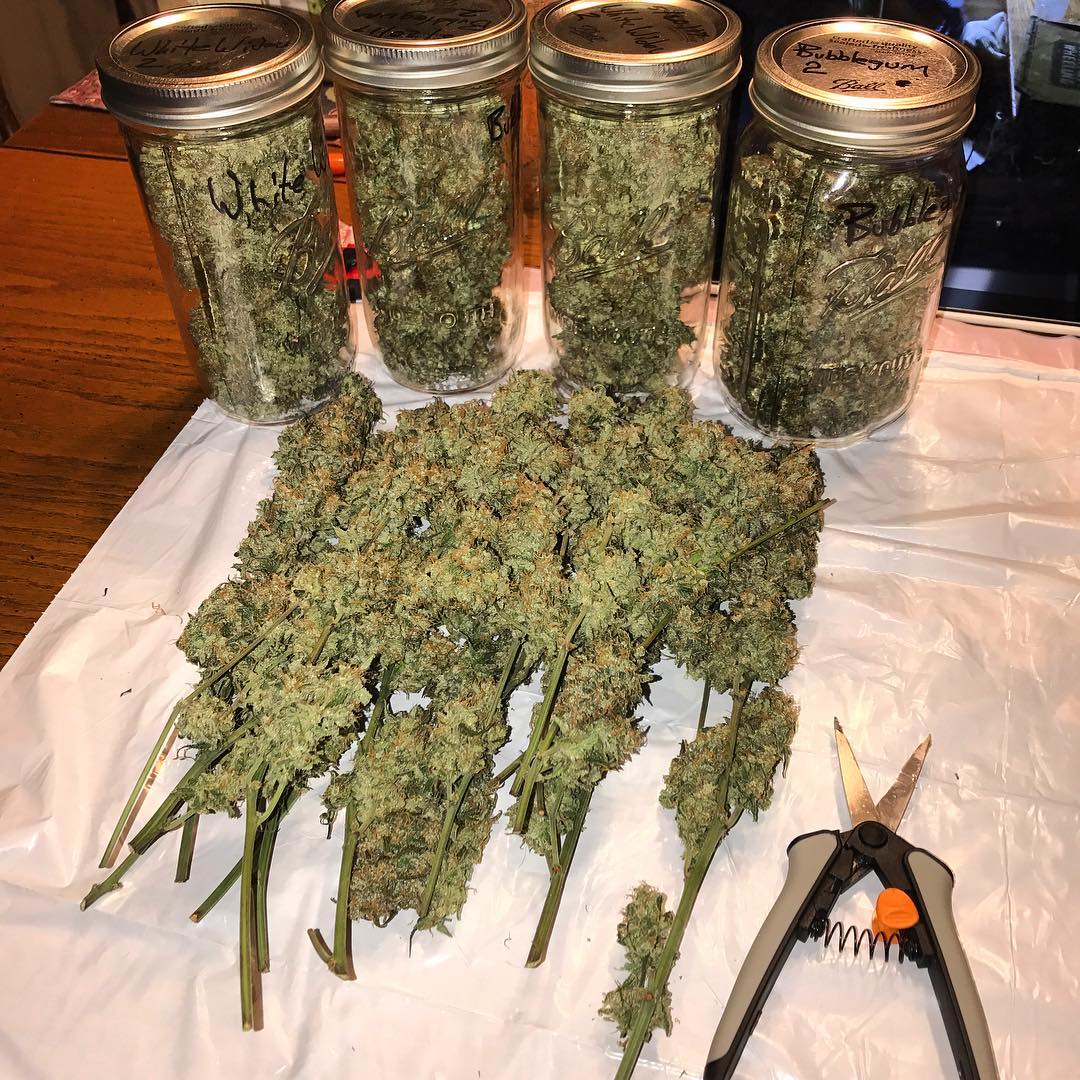
Make sure to manicure your buds as much as possible, if you haven’t already, removing all excess leaves and stalks. Then proceed to place your beautifully manicured buds into airtight containers. Most people tend to use glass canning jars, but wood, plastic, metal or ceramic containers will do just fine. Pack the buds up into the container, filling it to the top without crushing or compacting the buds. Once your buds are all packed away, seal the containers and place them in a cool and dark area. Later on in the day you should notice a moistness in the buds, as the remaining humidity rehydrates the apparently dried outsides of the buds. If this doesn’t happen then your buds have been over dried.
That’s basically it! During the first several days you’ll want to open the jars (or whatever the cannabis is sealed in) and let the buds breathe for about 15 minutes, allowing the replenishment of air inside the jar and to let the moisture evacuate the container. The longer you leave the buds the stronger they will get; 4 weeks will be more than enough time for some quality ganja, but some strains can benefit from up to 6 months curing, it all depends on your patience!
Note: If when opening your jars you get a strong overwhelmingly “fishy” smell – This is Ammonia, meaning anaerobic bacteria is eating away at your buds, creating mould and rotten cannabis. If you smell this, take the buds out and leave them to dry a little while longer.